
Information about Painted Ceramics
2024-07-28
Painted ceramics are a popular medium for artistic expression and decoration. They can range from functional items like mugs and plates to decorative pieces such as figurines and vases. Here’s a guide to working with painted ceramics, including techniques, materials, and tips for creating beautiful pieces:
1. Materials Needed
- Ceramic Pieces: Bisque-fired ceramics that are ready to be painted. These can be purchased from craft stores or pottery suppliers.
- Ceramic Paints: Special paints designed for ceramics, available in various finishes (glossy, matte, satin) and types (acrylic, enamel, underglaze).
- Paintbrushes: Different sizes and shapes for various details and techniques.
- Palette: For mixing and holding paints.
- Sealant or Glaze: To protect and finish the painted design.
- Sponge or Stencils: For texture and pattern applications.
- Water and Rags: For cleaning brushes and correcting mistakes.
2. Preparation
1. Clean the Surface: Ensure the ceramic piece is clean and free of dust or oil. Wash it with water and let it dry completely.
2. Plan Your Design: Sketch your design on paper or lightly pencil it onto the ceramic piece. This will serve as a guide during painting.
3. Painting Techniques
1. Base Coating:
- Apply a base coat of paint to cover the entire surface or specific areas. Use a broad brush for large areas and let it dry completely before applying additional layers.
2. Detail Work:
- Use fine brushes for detailed work. Add designs, patterns, or intricate details as desired. Be patient and allow each layer to dry before adding more details.
3. Sponging:
- Use a sponge to dab paint onto the surface for a textured effect. This technique is great for adding depth and dimension.
4. Stenciling:
- Use stencils to create patterns or designs. Place the stencil on the ceramic and apply paint over it. Carefully remove the stencil while the paint is still wet.
5. Layering:
- Build up colors in layers for a richer, more complex design. Allow each layer to dry before applying the next one.
6. Freehand Painting:
- For a more personal touch, paint freehand designs directly onto the ceramic. Practice on a scrap piece if needed before moving to the final piece.
4. Finishing
1. Drying:
- Allow the paint to dry completely according to the manufacturer’s instructions. This might take several hours to overnight.
2. Sealing:
- Apply a clear glaze or sealant to protect the painted design. Follow the manufacturer’s instructions for application and curing. This step is especially important for functional items like mugs and plates that will be used.
3. Firing (if needed):
- Some ceramics, especially those painted with glaze, may require firing in a kiln to set the paint and glaze. Follow the guidelines specific to your type of paint and ceramic.
5. Care and Maintenance
1. Cleaning:
- Clean painted ceramics gently with a soft cloth and mild soap. Avoid abrasive cleaners that could damage the paint or glaze.
2. Storage:
- Store painted ceramics in a dry, cool place to prevent damage and fading.
3. Usage:
- For items intended for food use, ensure that the paints and glazes are food-safe. Always follow safety guidelines provided with your materials.
6. Tips and Tricks
1. Practice First:
- Test your techniques on a small or scrap piece of ceramic before working on your main project.
2. Layer and Blend:
- Use layering and blending techniques to create depth and texture in your designs.
3. Use High-Quality Materials:
- Invest in high-quality ceramic paints and brushes for the best results.
4. Be Patient:
- Allow ample drying time between coats and before applying sealants to avoid smudging or mixing colors unintentionally.
7. Popular Ceramics to Paint
1. Mugs and Cups: Personalize everyday items with unique designs.
2. Plates and Bowls: Create custom tableware or decorative plates.
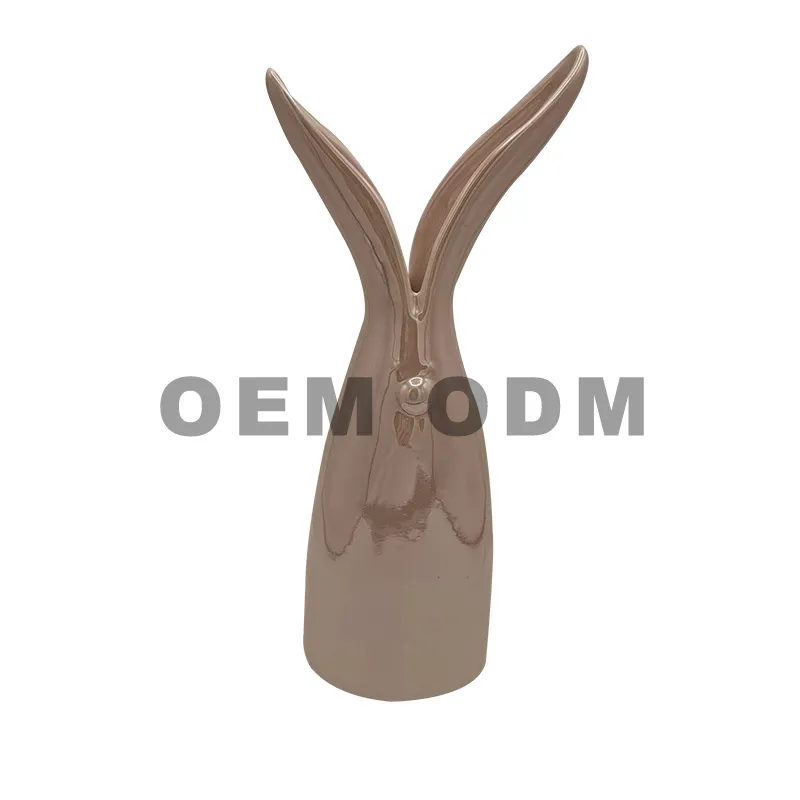
3. Vases: Design beautiful floral arrangements or standalone pieces.
4. Figurines: Paint detailed and collectible figurines.
5. Tiles: Design decorative tiles for home decor or as gifts.
Painting ceramics can be a fun and rewarding craft, allowing you to create custom pieces that reflect your personal style and creativity. Whether you're making functional items or decorative art, the techniques and tips above will help you achieve beautiful results.